|
|
Figure 5.1 is a screen shot of a typical jDraft drawing as it appears on the screen.
|
|
The user interface consists of four main areas.
On top of each window there are controls that are common to most commands, such as setting the current line style and layer and whether snapping is confined to the current layer or active group.
On the left side there are, counting from top, Edit, Lines, Guide, Draw, Dimension and Snap tools for drawing and editing. All these toolbars and the layers toolbar on the top right can be detached from the window and dragged anywhere on the screen as illustrated in figure 5.2.
|
|
At the bottom of the screen there are entry fields for numerically entering values whenever necessary.
The biggest part of the window is taken up by the drawing area in the center. The drawing area has scrollbars to scroll different parts of the document into view, and a number view controls to left of the horizontal scrollbar.
Note that some toolbar buttons display a small triangle and/or a triple dot on the bottom edge of the button, see figure 5.3.
The small triangle is an indication that there is actually a palette or popup menu attached to this button. By clicking the button with the mouse and holding the mouse button down, you can bring up the popup menu which typically contains more variations of the command that the button represents. By selecting one of the alternatives the button changes to that command.
The triple dot is an indication that there is a parameters dialogue attached to the button for entering parameters. This dialogue screen typically allows you to enter and change a number of parameters that affect all the commands under that button. To bring up the dialog, double-click on the button.
|
|
Figure 5.4 illustrates where to find the most important drawing tools parameters dialogs.
|
|
The right-click menu also contains commands that are relevant to the currently selected shapes.
|
|
An interactive help facility can be invoked with the Tools/eGuide...command in the ’Help’ menu, see figure 5.6.
eGuide tracks you as you draw and gives hints on what to do next. As at any given time there are a number of actions you can take, the eGuide cannot give you step by step instructions. The hints are given in a computer generated, ungrammatical English, with apologies to any language puritans.
To exactly describe how the eGuide works is difficult, but broadly speaking the eGuide works as follows. Based on the selected drawing tool, the various ways of how you can draw are described in the eGuide window. The underlined items indicate what input you have entered so far. Below them is text describing how you can enter more input.
No textual description can do justice to the interactive quality of the eGuide so it is suggested that you just try it. On the other hand, it is likely that you do not need guidance at all!
|
|
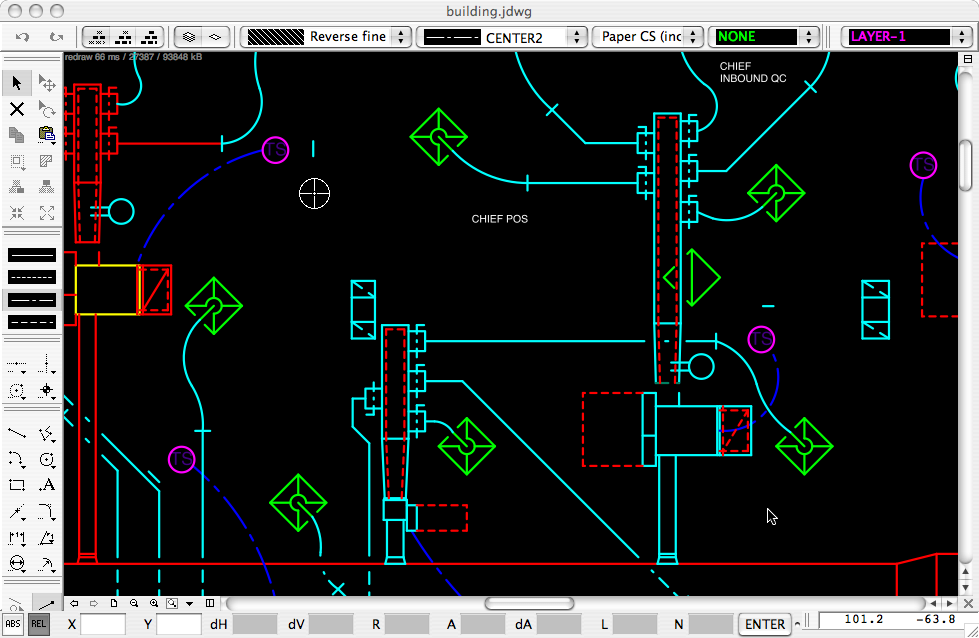 Figure 5.1: A jDraft Window
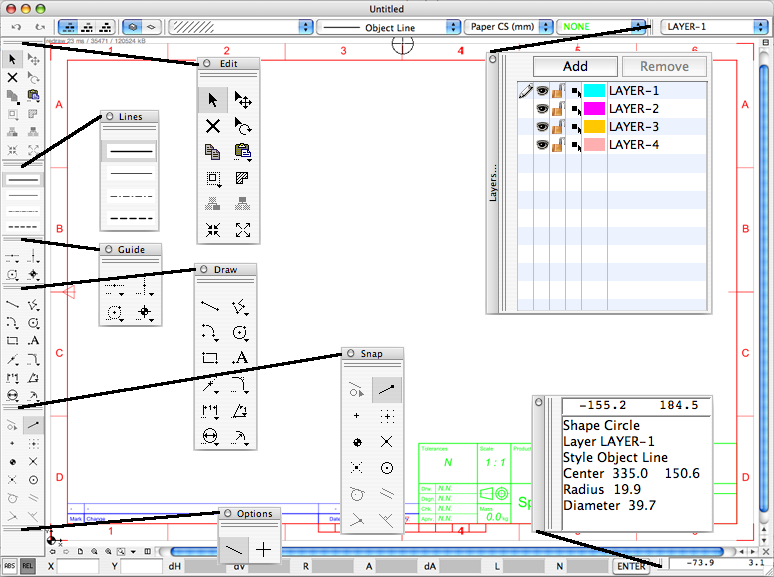 Figure 5.2: jDraft Toolbars
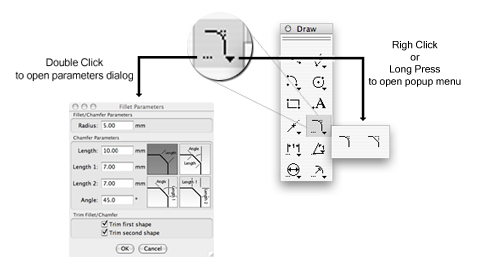 Figure 5.3: Pallets and Parameters
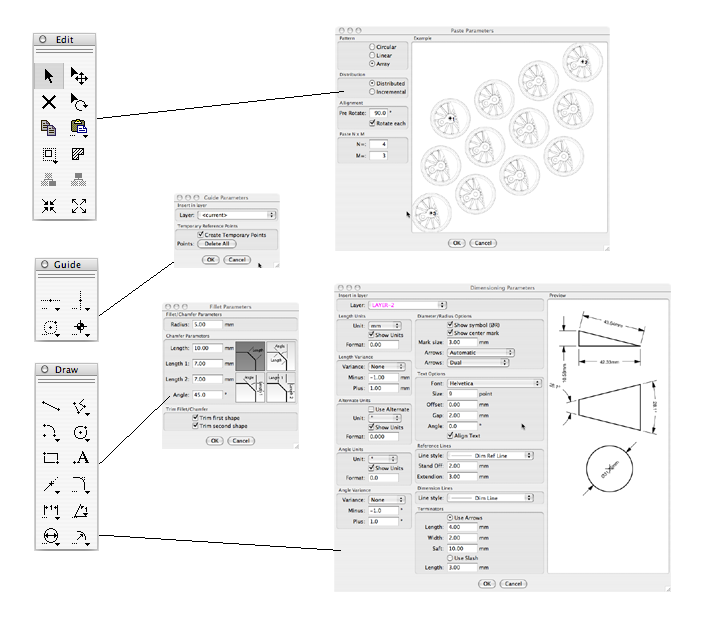 Figure 5.4: Finding the Parameters Dialogs
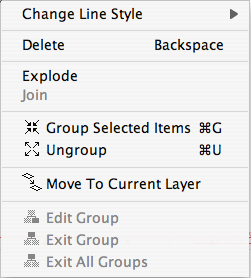 Figure 5.5: The Right Click -menu
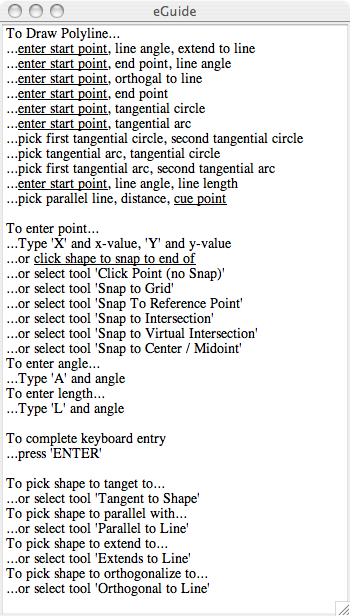 Figure 5.6: Hatching Combinations