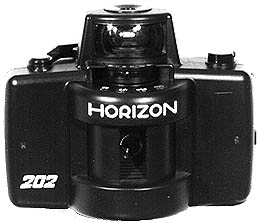
In addition to the pseudo-panoramic possiblities of APS photography, I have shot some real panoramas (i.e. not just standard pictures cropped to a wide format) with ordinary 35mm SLRs and compact cameras, with a digital Canon Ixus/ELPH, and also a special "swing-lens" camera, "Horizon". The latter is a cheap (at least here in Finland) Russian equivalent to (or copy of) the Widelux and Noblex cameras (which cost USD 1.500,00 and over), and provides a negative (or slide) sized 24x58mm on ordinary 35 mm film (a 36-exposure roll can hold 22 panoramics).
 |
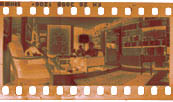
The negative:
|
How it works (top view):
|
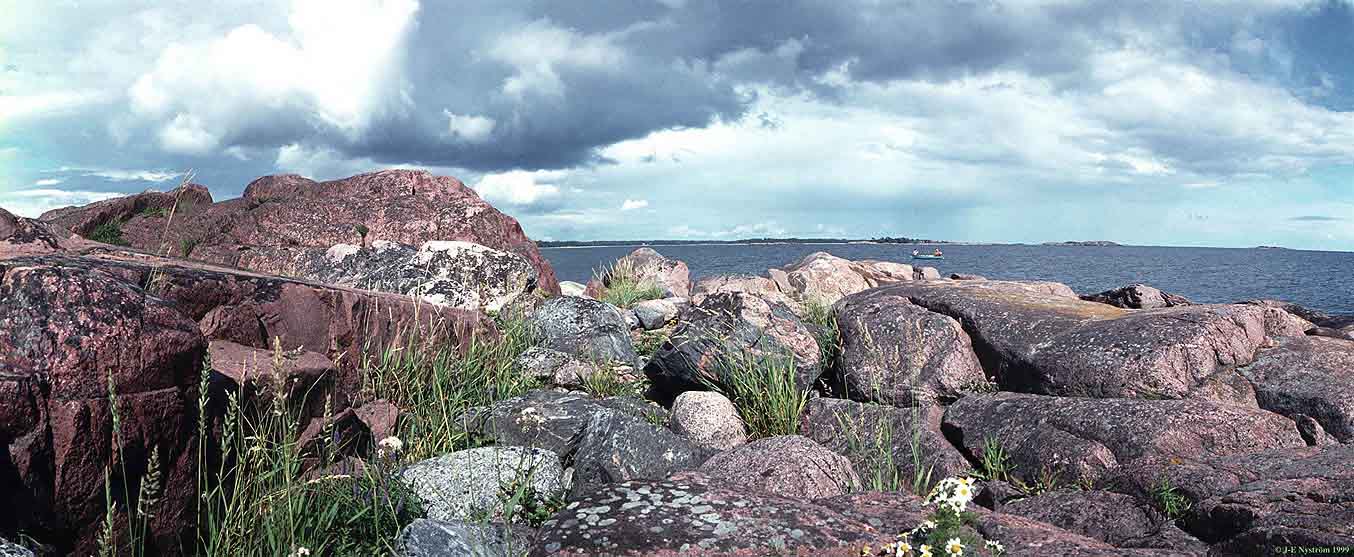
It has a 28mm lens that rotates through 120°, f-stops 2.8-16, shutter speeds 1/500 to 1/2 sec. On top of the camera is a bubble level that is mirrored into the widescreen viewfinder, to ensure that you get a straight horizon. As the second panoramic on this page shows, all horizontal lines above and below the center of the frame will be severely bent. This is a problem with architecture and streets, but hardly noticeable in the landscape below.
Intriguing technology - UN-digital, clockwork mechanisms... Fascinating!
The following is a 120° shot from Hangö, where I spend my summer vacations, enjoying the arhipelago:
By scanning & blending 4 negatives shot with the Horizon camera, I made a 360°+ view of my home street - you may have to scroll a bit, unless you have a 45" monitor... ;-) Note that the leftmost tree is repeated on the right, since the view is over 360°.

The two panoramic close-up shots below (shot with the Horizon 202 using a +2 diopter lens), are of my model railroad - to learn more about how I've been photographing it, go to the railroad page.


But remember, you don't have to own a special panoramic camera in order to make stunning panoramic photos! Any camera will do, provided you can scan the pictures into a computer and use an image retouching program to blend them (or, do it the old-fashioned way, by cutting and pasting actual prints - I still have a 2-meter strip of glued-together black & white prints that I shot in the late 1960's...) The sunset picture below is a composite of 5 frames that I shot with a Canon Ixus Digital camera, and blended together in Photoshop to form a 180°+ panorama. The important thing to remember is to lock the exposure, so that there is no change in the recorded brightness values from frame to frame. With a standard 35mm camera, this is best done by using a manual exposure setting of the shutter and aperture, exposing according to the most important part of the picture (the colorful sky, in my example below). Do not use ordinary prints as the starting point when scanning the images into your computer, since the lab will have made corrections at the printing stage, thus making the different shots incompatible. Scan directly from your negatives, or use slide film, and ensure that all frames are scanned with the same settings (do not make a preview scan for each frame - preview once, and scan all frames with that setting) - this will get a seamless result.
When shooting the frames intended to be blended into a panorama, it's a good idea to avoid two things: moving people or objects (unless you want to have them appear several times in your final picture!), and subjects very close to the camera in the areas where the images will be blended together (i.e. the edges of the individual pictures). Objects close to the camera will be laterally displaced unless the camera is rotated exactly around the center point of the lens, which is very hard to do unless you use a tripod. (The example here was shot hand-held - I seldom use a tripod.) You must also remember to include a liberal overlap between the frames, especially if shooting with a wide-angle lens, which tends to distort the edges of the picture. The overlap will enable you to choose the best position for the blending between the frames - on a tree trunk, the edge of a wall etc.
When compositing images that have no clear lines along which to blend from one frame to the next, it is a good idea to use a rather wide transition between the images - this will even out any small irregularities in brightness that may be present. The less detail in the blended area, the smoother the blend will be. The composite below took me about 10 minutes to prepare, using a "feather" of 15 pixels between the frames, and some retouching with the "dodge" and "burn" tools to make the joins virtually invisible.

And last, but not least, a panorama composed from seven digital shots, taken from the observation level of the water tower in Hango, southernmost Finland. The Canon Digital Ixus/ELPH camera's panorama assist feature enabled me to get a seamless panorama of this breathtaking view. Note how well the camera handled the strong backlight and reflection in the water, even though the exposure was locked to a single value for all the seven shots:

Here's a nice link about panoramic photography and the "202":
http://www.pauck.de/marco/photo/panorama/horizon202/horizon202.html