The movie has no plot, its subject matter is reminiscent of the early Lumiere Brothers' first movies: a wiew of an approaching train, a view from the harbour, a magician doing his act (with camera tricks like Georges Melies used to do...), some shots from downtown Helsinki, and so on - the "retro" idea...
I designed and built the equipment, and was cameraman on this movie... Quite an interesting project! The film is shot with two 16mm coupled Bolex cameras, that I attached to a 10mm thick aluminum base, holding the drive motor, bearings for the drive axle, etc.
Both cameras are driven from the main axle with toothed belts, to ensure absolute synchronism between the two cameras. The shutters were also adjusted to be exactly in phase, to avoid any time parallax. The whole thing runs on a 12 volt rechargeable battery.
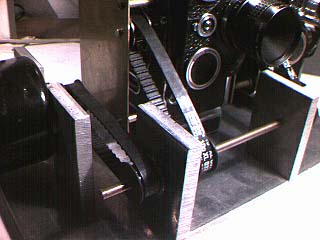
Here you can see a closeup of the coupling between the main axle and one camera. There are ball bearings on all axles, to minimize friction.
Both cameras have identical lenses (fixed focal length, we used 16mm f:1,4 on this production). Since the cameras were a little too far from each other compared to the normal 65mm intraocular distance, the 3D-effect is a little exaggerated. This was no drawback, since we wanted to exploit the effect.
The film stock was black&white, overexposed one stop and underdeveloped to give lower contrast. This helped minimize the ghosting that is common in anaglyphic prints. Also, since the b&w negative was printed onto color printing stock, which has a rather high gamma (i.e. contrast), the image was more pleasing to the eye.
The lab did a 4-roll cut of the original negative, 2 rolls for the left image, 2 for the right. This enabled us to get dissolves. The left image was printed with red printer light only, giving a cyan-colored image on the film, and the right image was printed with green printer light, the resulting image being magenta. We made both 16mm and 35mm (blow-up) prints from the negatives.
When viewed with red-green glasses, you see the cyan image through the red lens, and the magenta image through the green lens. The brain combines these two images to a 3D image. In the glasses, we used lighting filters (available from Rosco, Arri, Lee, ProColor etc.) for lenses. Primary red for the left eye, primary green for the right eye (a bright blue would have been OK for the right eye, too).
We produced our own 3D-glasses - a printing shop stamped out cardboard frames, with pre-routed folds, as you can see above. This made it easy to place the filters in their respective positions, fold the frame over, and use two staples to hold the whole thing together...The first batch of 500 glasses cost us less than 50c a pair (our own labor of cutting filters, folding & stapling frames not included... ;-).
This image was simple to make: I captured two video images by moving the camera a few centimeters left to right. I colored one magenta, the other cyan!
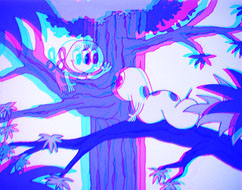
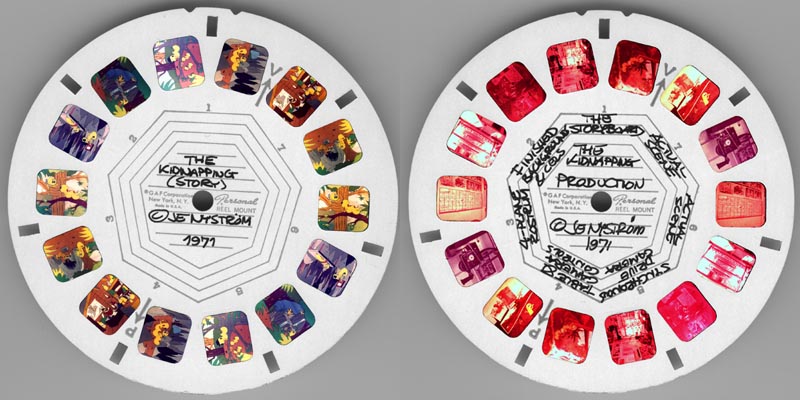
This one was trickier: In 1971, when I was working on my animated film "The Kidnapping" (see filmography), I also made seven hand-drawn 3D images for a View-Master reel - just for fun - and to see if I could do it... I shot all the images with my 35 mm SLR, and printed the negatives down on 16 mm color film, which I developed myself. The reel on the left shows the hand-drawn images, while the right one is made from photos - either of my equipment, or the actual Multiplane setups I used for the animation. The right reel shows severe color fading, it was made on Agfa-Gevaert print material. The left one has fared a bit better, printed on Eastmancolor.
(I still remember my inspiration: The beautiful View-Master three-reel set based on Disney's film "Sleeping Beauty" - some of the nicest hand-drawn reels I've seen).
For every frame, I had to make two drawings, considering every detail's depth in the frame, and correspondingly change the relative positions on the drawings. With a scale attached to the animating disc's sliding pegbar, I could trace one image from the other, while making the necessary sideways change to get the depth. Exacting and time-consuming... Here are 3 more frames from my View-Master reel. These do not need any 3D-glasses, if you are able to watch 3D images either by the "cross-eyed" or the "parallell eyes" method. If you have never done it before, here's a hint: For the parallell version, try to gaze lazily "into infinity" without focusing your eyes. When the images on the screen fuse, focus your eyes. Cross-eyed (works best for slightly nearsighted people without their glasses on): Try to look at your own nosetip without focusing on the image on the screen. The images may fuse at some point. Then try to focus your eyes on the screen. Either of these methods may work for you - click on the appropriate version, and the image will open in a new window. When you're finished, just close the new window.
Here's a stereo picture of my model railroad:
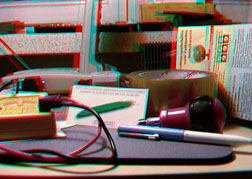
Here's a COLOR 3D anaglyph experiment, a shot of my messy desk. This has to be viewed with the proper complementary color filters to get the color effect. Use the 106 Primary Red for the left eye, and 132 Medium Blue (or 141 Bright Blue) for the right eye. It may take a while for you to get the impression of color in this image. At first, it seems somewhat strange and flickering...
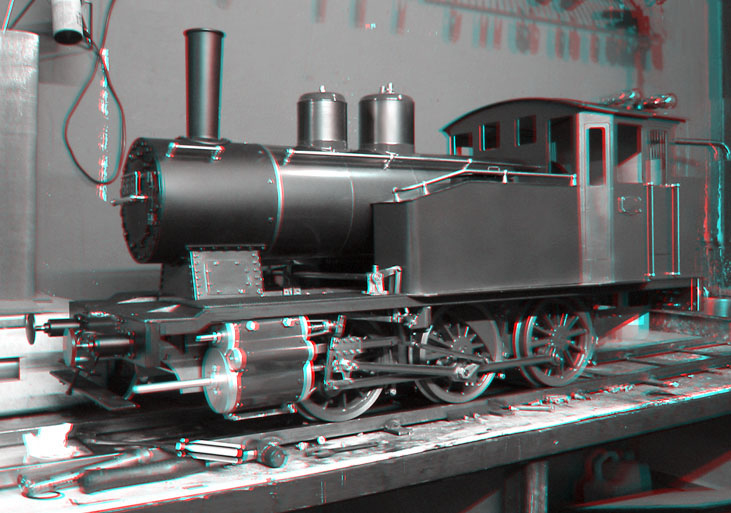
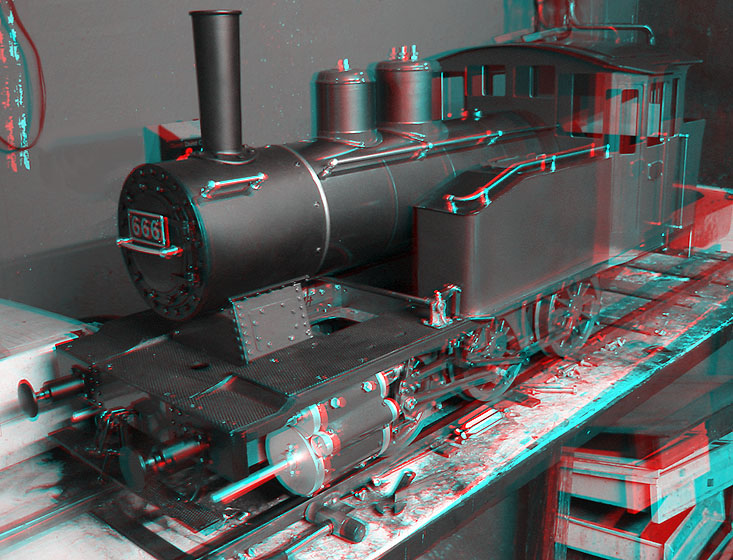
And finally, a couple of pictures of the model steam locomotive I'm building - more about the "Live Steam" hobby on this page: http://www.saunalahti.fi/animato/steam View these with red-green or red-blue glasses, red in front of your left eye:
To my filmography page, or back to my Home Page.
E-mail me if you have any comments...
"Kolmiulotteisia Kuvia"
"3-dimensional images"
8 minutes, red-green anaglyph movie
Director / Producer: Juho Gartz
Cinematographer / Equipment design: J-E Nystrom
"Kolmiulotteisia Kuvia" is an experimental 3D movie, the second ever anaglyph 3D film made in Finland. (The first one was made in the early 1950's, only one faded print remains of that film, and nobody knows if the negatives still exist...) 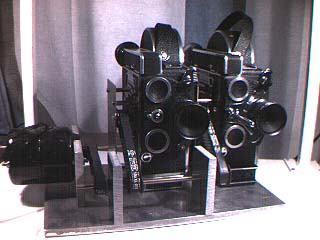
Below you'll find a few 3D images (not from the film) that you can view: put a red filter in front of your left eye, green in front of your right eye. If you have one of those lighting filter swatchbooks (manufacturers mentioned above), the best filters to use are "106 Primary Red" and "139 Primary Green". Try it!